Table of Contents
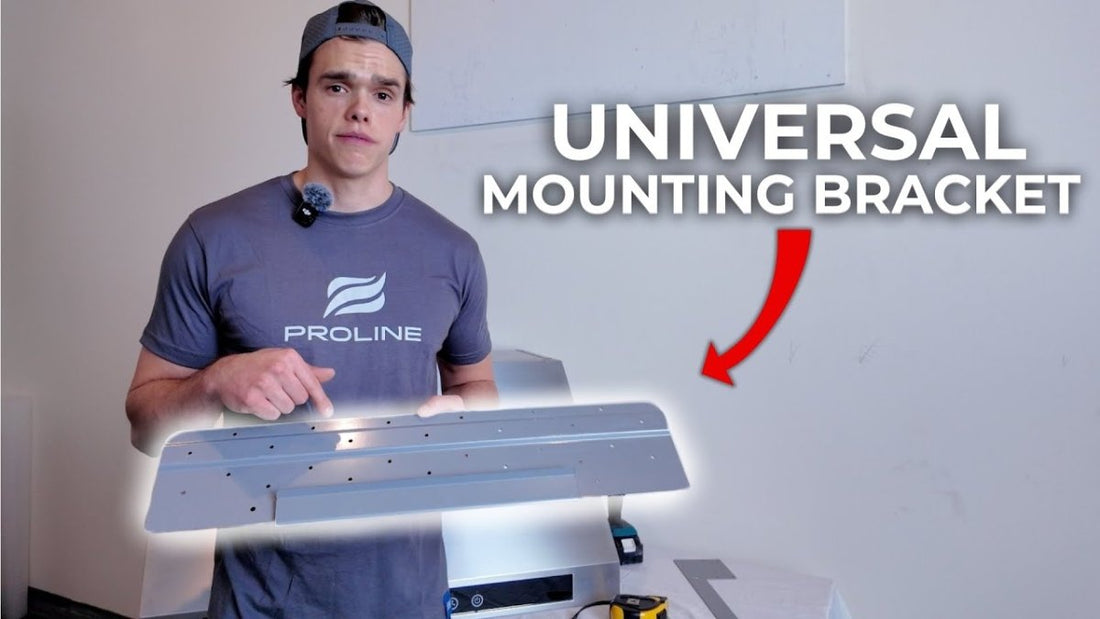
Installing a range hood has traditionally been a two-person job, but at Proline are changing that paradigm. Our innovative Easy Mount bracket system transforms this challenging task into a manageable one-person installation, supporting range hoods up to 250 pounds while maintaining professional-grade safety standards.
Watch our detailed installation video above for a visual walkthrough, or continue reading for comprehensive written instructions.
Understanding the Easy Mount System
The Easy Mount bracket represents a breakthrough in mounting technology, combining versatility with user-friendly design. This professional-grade system accommodates various wall materials through direct stud mounting, concrete wall installation, and multiple anchor points for optimal stability. The system's adjustable positioning ensures perfect placement every time, making it a reliable solution for both DIY enthusiasts and professional installers.
And if you are ready to transform your kitchen? Browse our collections of premium hoods, under-cabinet, wall-mount, island, outdoor, and range hood inserts.
Preparation: Tools and Materials
Before beginning your installation, gather these essential tools:
- A tape measure and level for accurate positioning
- A Sharpie or marking tool for precise measurements
- 2-inch construction screws and appropriate wall anchors
- Star bit driver and basic hand tools
The key to a successful installation lies in proper preparation. Having all tools readily available prevents interruptions during the mounting process and ensures smooth installation.
Installation Process: A Step-by-Step Guide
1. Mounting the Hood Bracket
Begin by examining your range hood's back panel to locate the mounting points. Secure the bracket using the provided machine screws, ensuring even mounting across the entire bracket surface. Proper tightening is crucial for long-term stability.
2. Determining Center Points
Accurate measurement is vital for perfect alignment. For example, with a 35¾-inch hood width, mark the center point at 17⅞ inches. Similarly, for a 26½-inch bracket width, mark its center at 13¼ inches. These precise measurements ensure proper centering and weight distribution.
3. Wall Bracket Installation
For standard 36-inch cooktops, mount the bracket at 72 inches from the floor. Begin by marking your wall center line, then:
- Position the bracket and verify it's level
- Secure the initial anchor point
- Double-check level positioning
- Install remaining anchors
- Verify all mounting points are secure
Safety Considerations
Safety should never be compromised during installation. Key considerations include:
- Avoiding direct drywall mounting without proper support
- Using wall-appropriate anchors
- Verifying stud locations or concrete stability
- Ensuring secure mounting at all points
Final Mounting and Adjustment
The Easy Mount system's sophisticated design allows for precise adjustments during final installation:
- Side-to-side positioning for perfect centering
- Fine-tuning for cabinet clearance
- Level adjustment capabilities
- Secure locking mechanisms
Height Guidelines and Specifications
Standard installation heights maintain optimal functionality:
- 36 inches above the cooktop surface
- 72 inches from floor level (with standard 36-inch countertops)
- Adjustable based on specific kitchen requirements
Professional Features and Safety
The Easy Mount system incorporates several professional-grade features:
- 250-pound weight capacity
- Multiple anchor points for optimal load distribution
- Built-in safety margins
- Professional-grade construction materials
Tips for Installation Success
Success lies in attention to detail:
- Organize all tools before beginning
- Verify wall material and select appropriate anchors
- Double-check measurements
- Maintain proper leveling throughout installation
- Verify security of all mounting points
Final Verification
Complete your installation by performing these essential checks:
- Inspect all mounting screws for proper tightening
- Verify hood centering
- Confirm level positioning
- Test overall bracket stability
- Check all clearances meet specifications
Conclusion
The Easy Mount bracket system exemplifies Proline's dedication to innovative, user-friendly solutions. By following these comprehensive guidelines, you can achieve a professional-grade installation that will provide reliable support for years to come. Remember that Proline's customer service team stands ready to assist with any specific questions or additional support needed during your installation process.
Explore our hoods, including under-cabinet, wall-mount, island, outdoor, and range hood inserts.


