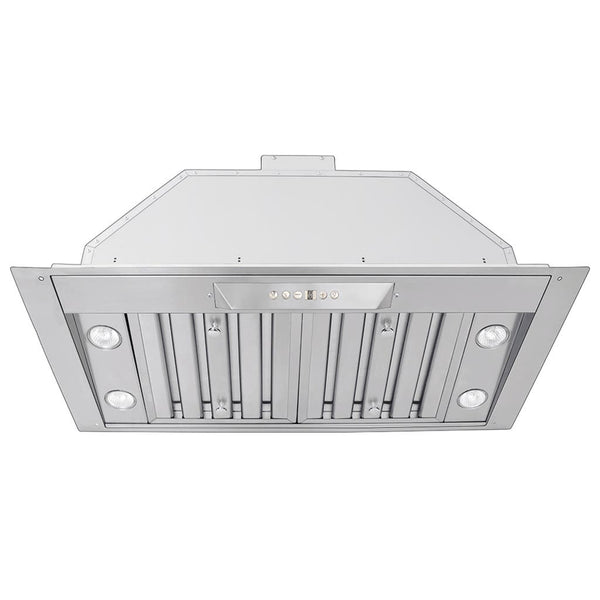
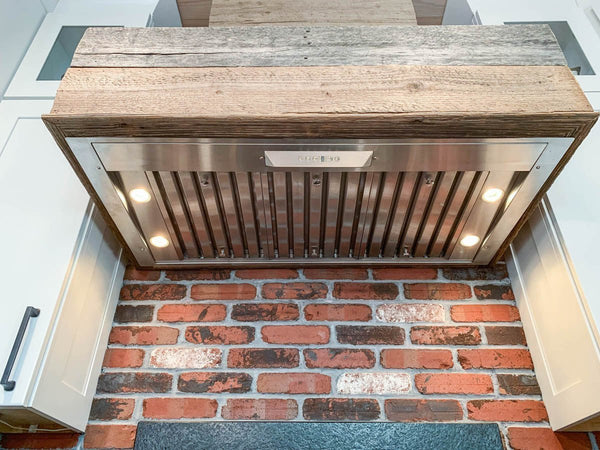
Welcome to our comprehensive guide on replacing the driver in your Proline range hood. We're offering both a detailed video walkthrough and this article. Choose the format that suits you best. Let's dive in.
Hopefully, you'll find the process straightforward and manageable.
**First, unplug your hood from the power source.**
Locating the Driver
The journey begins by locating the driver inside your range hood. This process involves tracking the wiring behind the unit's blowers. Look for wires that tuck themselves up inside the hood. By feeling around the interior of the hood, you'll find a small white box. This box houses the driver we need to access. It contains two clips that you can undo by hand. Be aware there might be some adhesive securing it, which will require a firm pull to remove.
Removing the Driver
Once you've located the driver, the next step is to disconnect it from the circuit board. This involves dealing with the black and white wire connected to the prongs inside the driver. If there's a protective rubber cover, you can pinch it to remove and then proceed to disconnect the driver.
At this stage, you'll also want to remove the driver's top white casing using a 1/8 in screwdriver—or whatever size fits best—to reveal four screw locations housed inside green parts where the wiring connects.
**Important Reminder**
Before proceeding to unscrew, take a picture of the setup. This will help you remember the order of reassembly. The screws don’t come out completely but loosen enough to release the wiring.
Replacing the Driver
Once you have the new driver, remove its casing and attach the wires as they were connected to the old driver.
Then reassemble by following your disassembly steps in reverse order.
Final Touches
Attach the new driver in place with adhesive. This secures the driver inside the hood. Remember to reconnect the wiring via clamps to the circuit board before proceeding to screw everything back into its original position.
Replace your filters and you are good to go.
Conclusion
If you encounter any difficulties or have questions, reference our video above, after that do not hesitate to reach out to the customer service team at support@ProlineRangeHoods.com, or give us a call at 877-901-5530. With this guide, your range hood should be up and running smoothly in no time.
Other Articles
How To Replace The Lights On Your Proline Range Hood (Remove and Replace)
Can I install a ductless range hood outside?
What is a convertible range hood? (Explained)
Best 2000 CFM Outdoor Range Hoods
Outdoor Range Hood Mounting Height: Ensuring Proper Ventilation and Comfort


