


Replace Your Over-the-Range Microwave with a Range Hood the Right Way
Introduction
Your kitchen is more than just a place to prepare meals—it's the heart of your home where memories are made. However, it's also where cooking odors, heat, and grease accumulate, potentially affecting both comfort and health.
A range hood offers a powerful solution for maintaining a fresh and healthy kitchen environment. Whether you're a professional contractor or a DIY enthusiast, upgrading from a microwave to a dedicated range hood can significantly improve your kitchen's ventilation and overall atmosphere.
Where Do I Put My Microwave?
If you're working with a small kitchen, finding the right spot for your microwave can be a challenge. Below are ten smart and stylish microwave placement ideas that maximize space, functionality, and visual flow—perfect for compact kitchens.

1. Built Into Lower Base Cabinets
Install your microwave into a lower cabinet using a drawer-style unit or a standard built-in model.
✅ Benefit: Keeps counters clear and offers a seamless, built-in look.

2. Above a Wall Oven in a Tall Cabinet Stack
Pair your microwave with a wall oven in a vertical cabinet stack.
✅ Benefit: Saves horizontal space and creates a clean, appliance-friendly column.

3. Inside a Pantry or Utility Cabinet
Place your microwave on a dedicated shelf within a tall pantry or storage cabinet.
✅ Benefit: Keeps your microwave hidden and your kitchen clutter-free.

4. On a Wall-Mounted Microwave Shelf
Install a floating shelf or bracket to hold your microwave just above the counter.
✅ Benefit: Frees up countertop space without needing cabinetry.

5. Built Into a Kitchen Island
Incorporate your microwave into the side of a kitchen island.
✅ Benefit: A discreet and space-efficient solution ideal for open layouts.

6. On a Rolling Microwave Cart
Use a compact cart with wheels that can be moved and stored as needed.
✅ Benefit: Flexible and ideal for renters or ultra-small kitchens.

7. In a Corner Countertop Nook
Tuck your microwave into an unused kitchen corner to minimize intrusion.
✅ Benefit: Utilizes otherwise wasted space while keeping it accessible.

8. Inside an Upper Cabinet with Lift-Up Doors
Install your microwave into an upper cabinet behind doors that open upward or slide.
✅ Benefit: Keeps your kitchen looking minimal and uncluttered.

9. In a Nearby Butler’s Pantry or Laundry Room
Place your microwave in an adjacent space with electrical access.
✅ Benefit: Removes visual clutter from the main kitchen area.
Preparation: Before You Begin
Safety First
Before starting any removal or installation work:
- Disconnect all power sources to your existing microwave
- Turn off the appropriate circuit breaker in your home's electrical panel
- Verify power is off using a voltage tester
- Have a helper available—microwaves are heavy and awkward to handle safely

Tools and Materials Checklist
Gather these essential items before beginning:
- Screwdriver set (both Phillips and flathead)
- Drill with appropriate bits
- Stud finder
- Level
- Measuring tape
- Voltage tester
- Duct tape (for ducted installations)
- Appropriate screws and anchors
- Ductwork components (if installing a ducted system)
Step-by-Step Guide to Removing Your Microwave
Disconnect Power and Prepare the Area
- Unplug the microwave or turn off the dedicated circuit breaker
- Clear the surrounding area and place protective covering on your cooktop
- Have a stable surface ready to place the microwave on after removal
Remove Mounting Hardware
- Open any cabinets above the microwave to access top mounting screws
- Identify all attachment points—typically including top cabinet screws and a rear wall bracket
Safely Extract the Microwave
- While supporting the microwave's weight, remove the mounting screws
- Gently tilt the microwave forward to disengage it from the rear bracket
- Carefully lower the unit, mindful of its weight (typically 50-70 pounds)
- Set aside in a safe location
Evaluate the Exposed Area
- Inspect the wall area for any damage that needs repair
- Note the location of the electrical outlet that powered the microwave
- Identify any existing ductwork and its condition
- Check surrounding cabinetry for modifications that may be needed
Proper removal creates a clean slate for your new range hood installation.
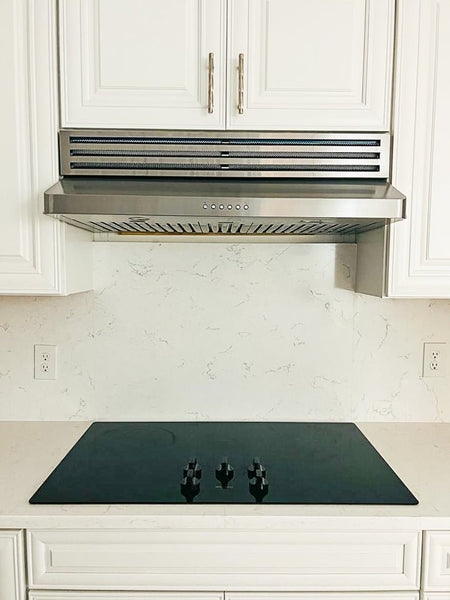
Installing Your New Range Hood
Click here to know how to install your range hood by every hood type

Microwave vs. Range Hood: A Clear Comparison
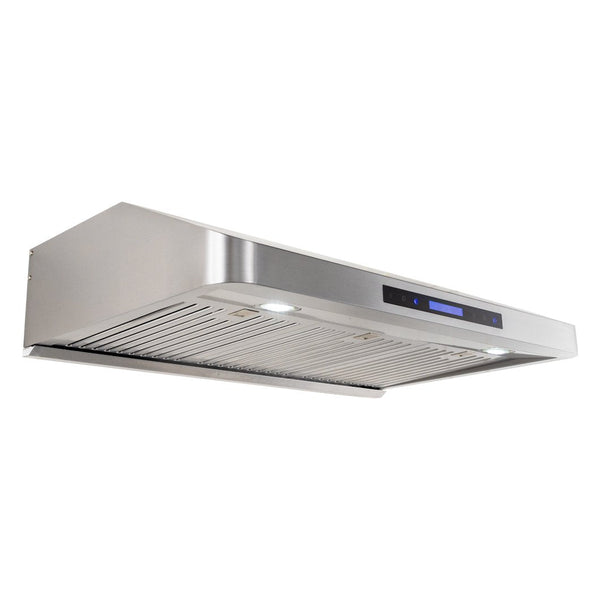
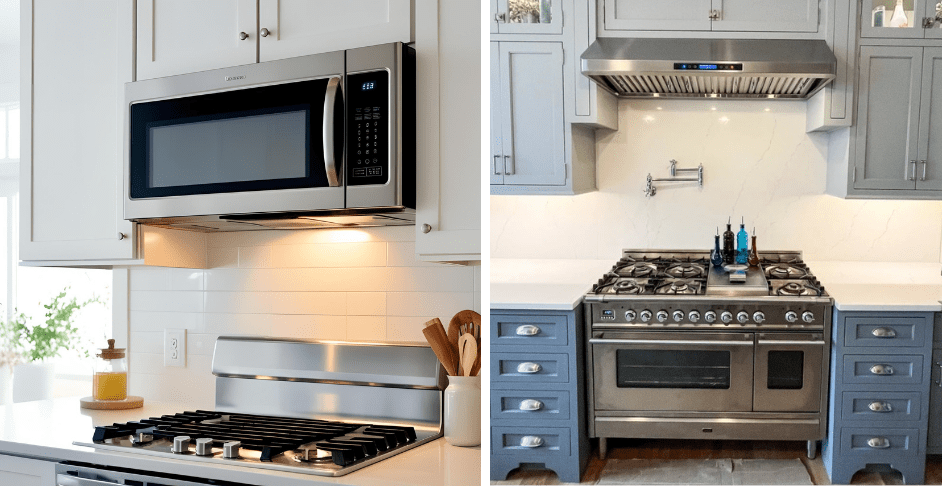
The Limitations of Microwave Ventilation
Many kitchens feature over-the-range microwaves with built-in ventilation fans. While convenient for saving counter space, these combination units have significant drawbacks:
- Limited airflow capacity (typically 200-400 CFM) insufficient for serious cooking
- Weaker fans that struggle with smoke and strong odors
- Shallow filters that capture less grease and require more frequent cleaning
- Often recirculate air rather than venting outside, merely filtering rather than removing contaminants
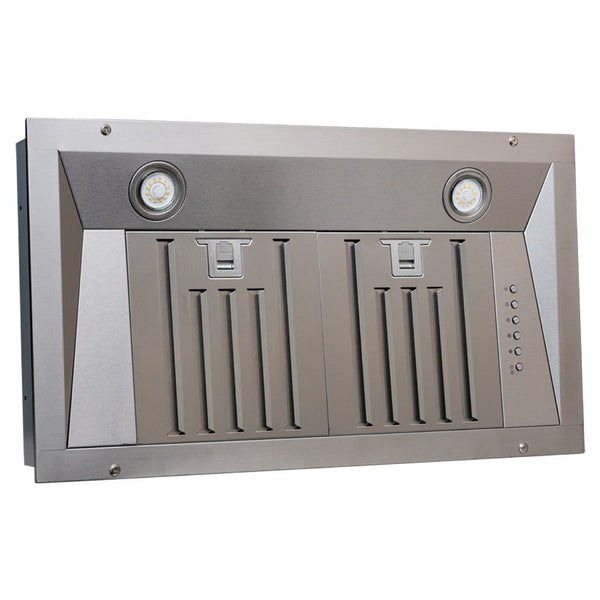
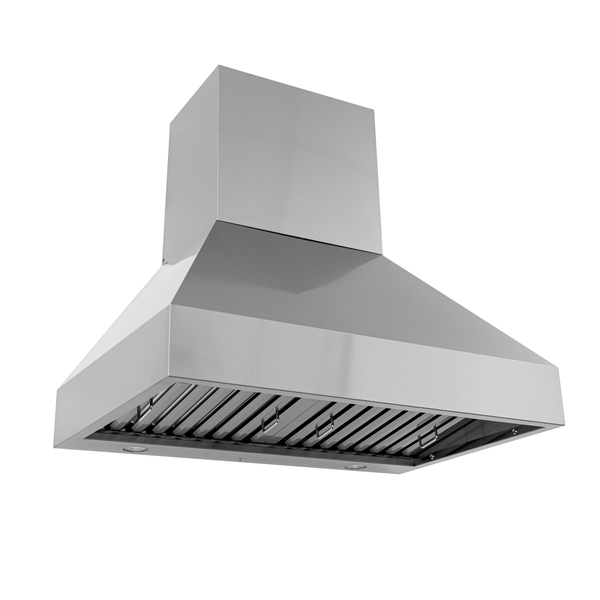
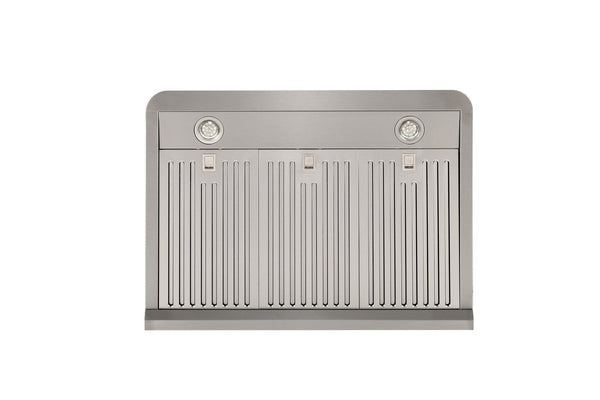
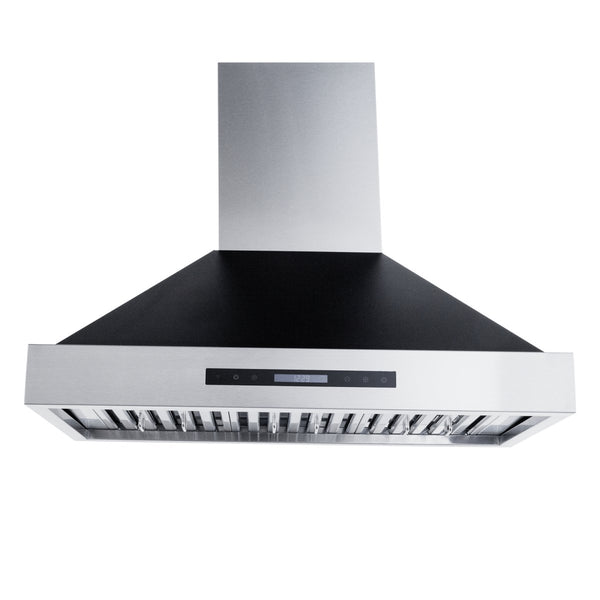
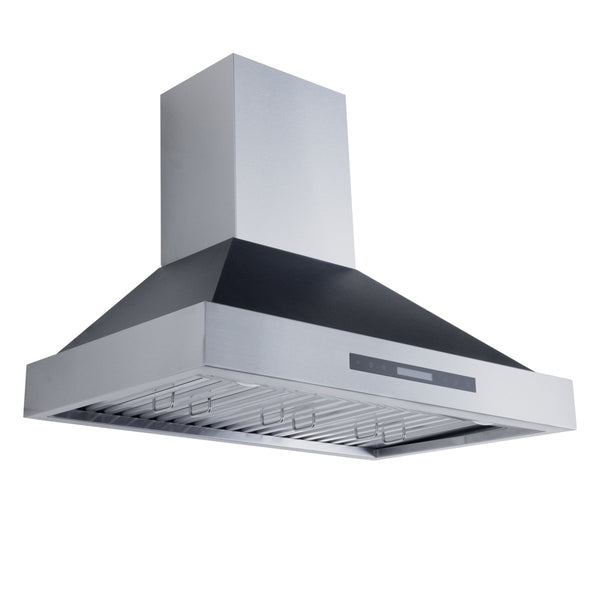
The Range Hood Advantage
Purpose-built range hoods offer superior performance in every aspect of ventilation:
- Higher airflow capacity (400-1200+ CFM) to handle everything from simmering to high-heat searing
- More powerful motors designed for continuous operation
- Deep, professional-grade filters that capture more grease and particulates
- Options for true outside venting to completely remove contaminated air
- Specialized designs to maximize capture efficiency based on cooking style
For anyone who cooks regularly or prepares foods that generate significant smoke, steam, or odors, a dedicated range hood represents a substantial upgrade over a microwave ventilation system.
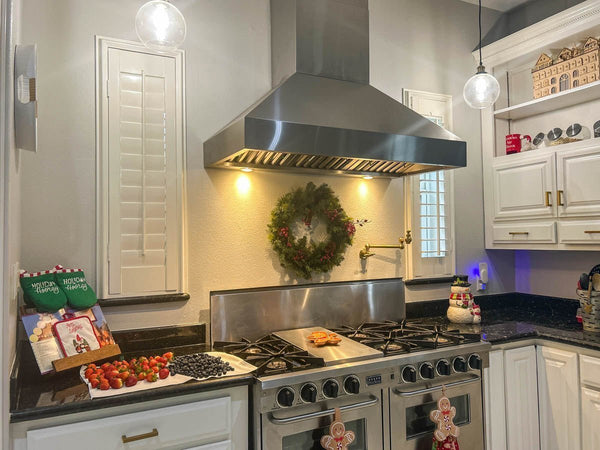
Conclusion: Transforming Your Kitchen Experience
Replacing your over-the-range microwave with a dedicated range hood represents a significant upgrade for your kitchen environment.
The improved ventilation capacity eliminates cooking odors more effectively, reduces airborne grease, and creates a more comfortable cooking space.
With proper installation and regular maintenance, your new range hood will provide years of reliable service, protecting your kitchen from the effects of cooking byproducts while creating a healthier, more enjoyable space for both cooking and gathering.
