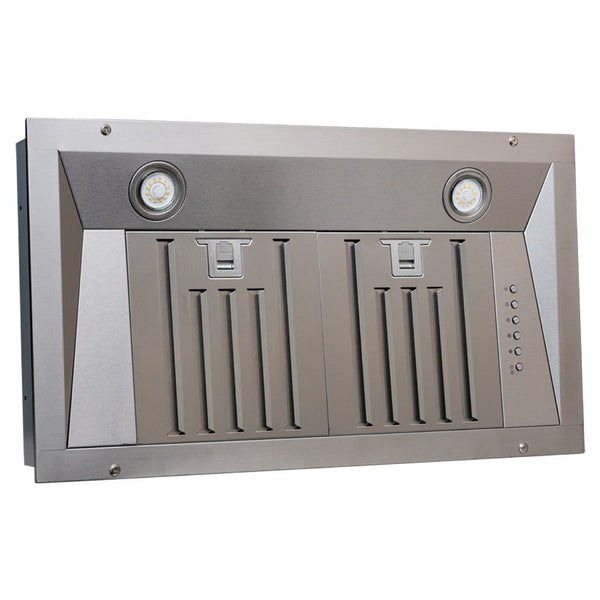
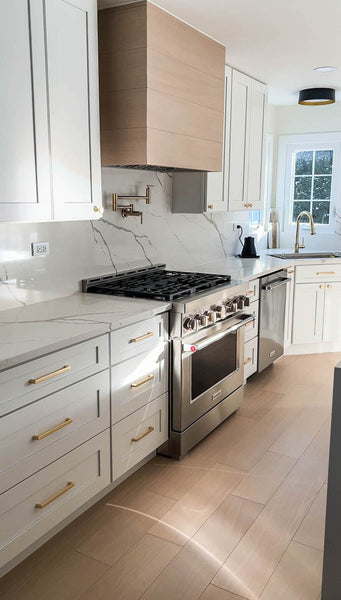
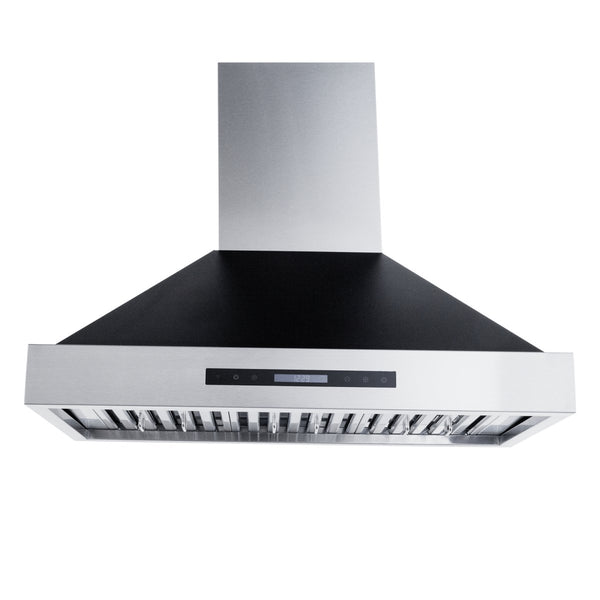
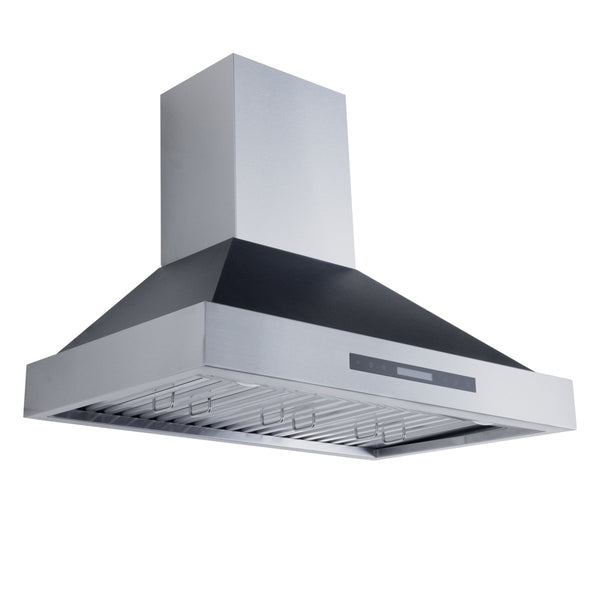
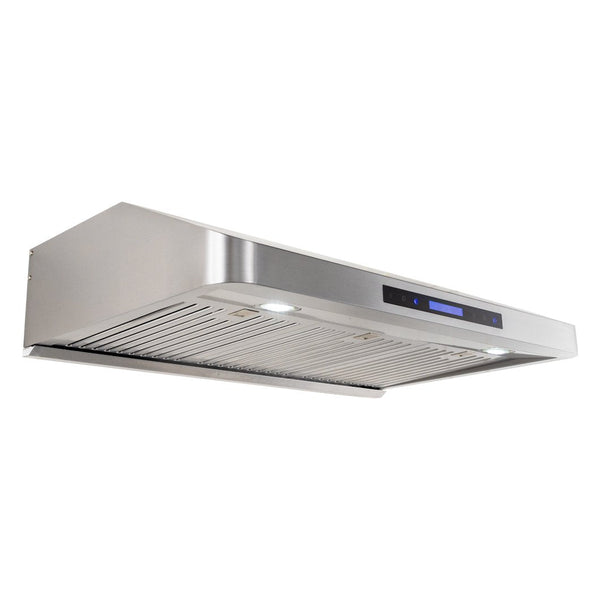
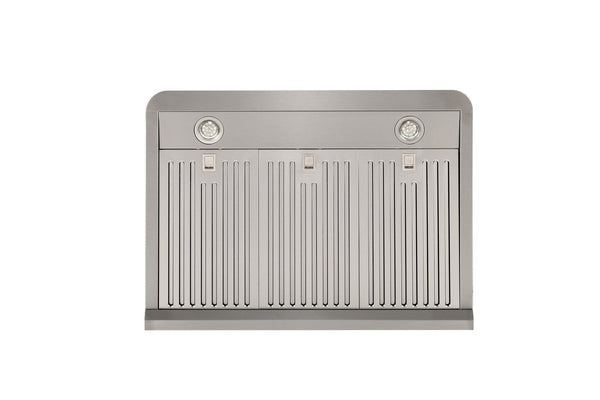
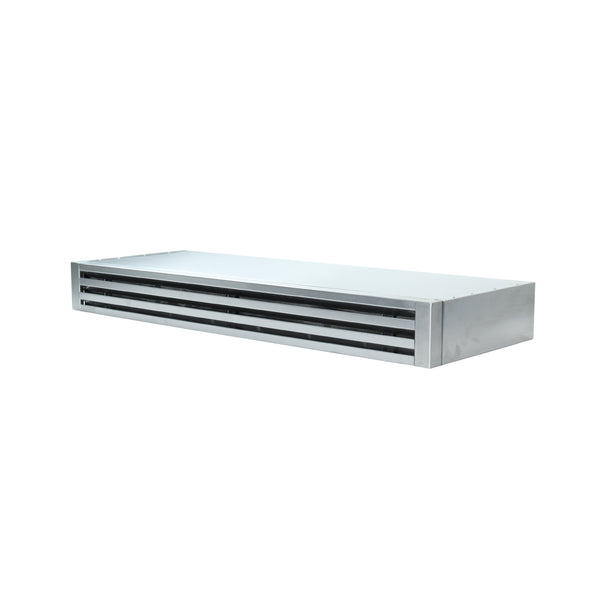
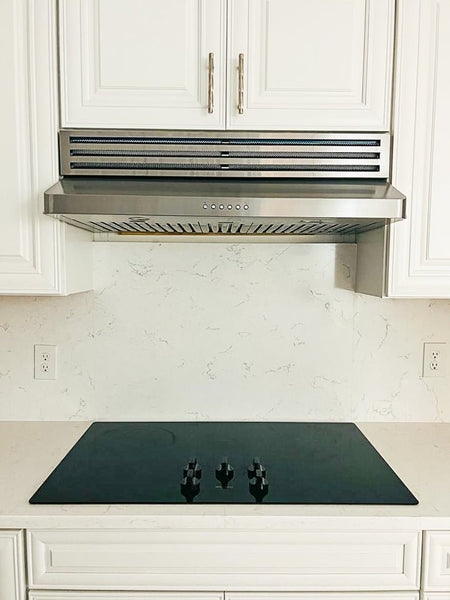
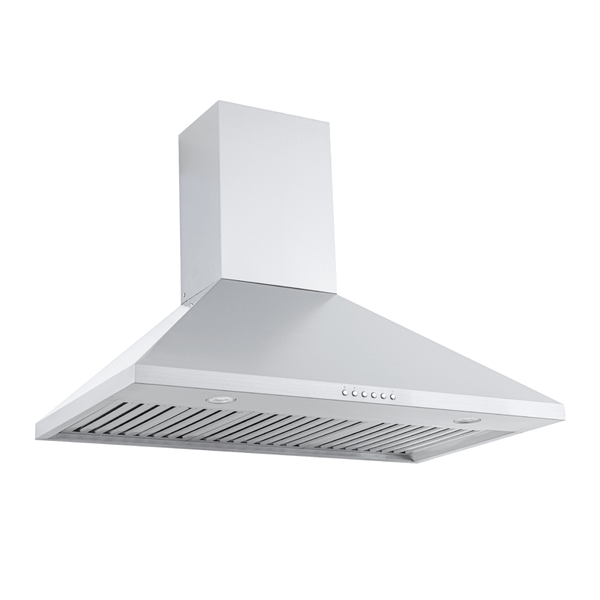
As you know, ducting your outdoor vent hood out of your outdoor kitchen space will help it stay clean and be a healthy enjoyable space to be in and protect your outdoor kitchen investment for years to come. But how do you vent an outdoor range hood?
The Short Answer
Venting your outdoor hood is like venting an indoor one: go straight up through the roof if possible, or out a sidewall. Use big, smooth ductwork sized for your hood's power, and end with a proper outdoor vent cap.
Table of Contents
Range Hood Venting Options
Installing Your Range Hood with Horizontal Ductwork
You have two options to vent your wall hood horizontally:

Option 1: Rear Venting Hood
A rear venting hood vents directly out the back through the wall.

Option 2: Top Venting with 90-Degree Elbow
A top venting hood with a 90 degree elbow in the ductwork.
Installing Your Hood with Vertical Ductwork

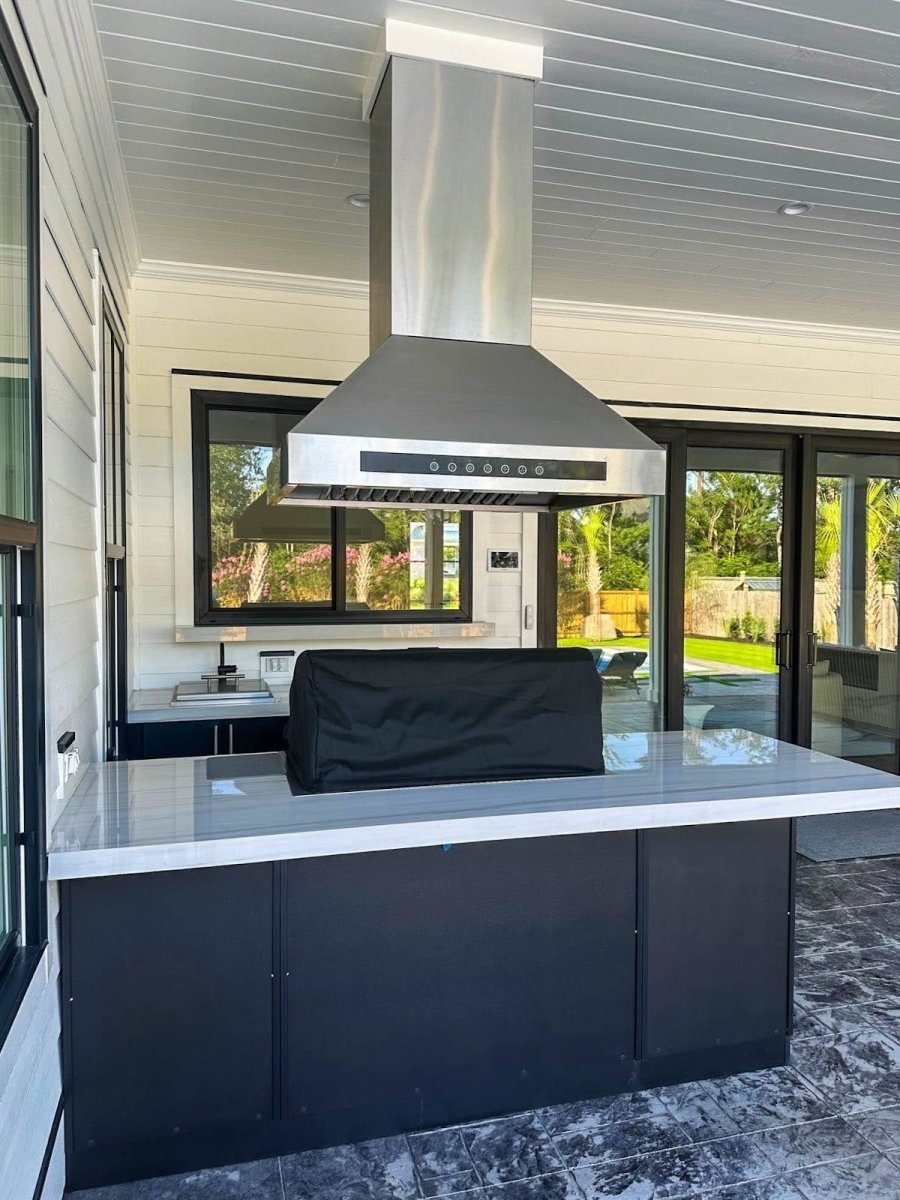
You can also vent your wall hood through the ceiling and roof. Unlike wall hoods, island hoods can only vent through the ceiling.

Which Venting Option is Best?
The best ducting option for your range hood will depend on your kitchen design. But in general, the straighter and shorter the better.
There are several things you can do to maximize the efficiency of your range hood duct.

Use An Inline/Remote Blower
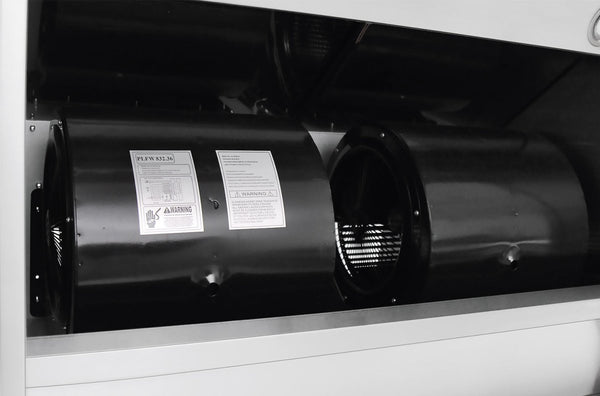
An inline blower is a separate fan unit installed within the ductwork of a range hood ventilation system, rather than being integrated into the hood itself. These remote blowers help reduce noise levels in the kitchen by relocating the primary sound source away from the cooking area.
Key Benefits of Inline Blowers
- Quieter operation due to the blower being placed remotely in the ductwork, muffling noise
- Better airflow and capture efficiency compared to built-in hood blowers
- Versatility to use with various range hood styles
- Easier accessibility for maintenance than integrated blowers
To maximize quietness, inline blowers can be paired with sound insulation around the blower unit and careful exterior vent termination design. When sized and installed properly by professionals, inline blowers allow efficient kitchen ventilation while minimizing disruptive noise, ideal for open kitchen layouts and entertaining spaces.
Where can I buy an inline/remote blower motor?
Proline Inline Blower Options
At Proline Range Hoods, our ProV models are the only hoods that offer an inline blower option.

Our ProV range hoods offer flexibility with three blower options: 1200 CFM local, 1700 CFM local, or 1300 CFM inline/remote. The local blowers are integrated into the hood for maximum airflow capture. The inline/remote blower gets installed separately in the ductwork for quieter operation. However, not every ProV model can use all three blower types. The compatible options depend on the specific range hood chosen. This variety of blower configurations allows you to select the ideal ventilation power and noise level for your kitchen's needs.
Feel free to browse them here to find the right fit for you.
Best Practices When Installing Range Hood Ductwork

It is vital that you vent your hood outside your kitchen/entertaining area, through the ceiling or wall.
You would be surprised how much smoke, cooking exhaust, humidity, and contaminants will build up in your attic, causing all kinds of problems. Instead, run the duct all the way to the outside. This way, you'll get rid of the smoke and cooking exhaust for good.
The best option is to vent vertically through the roof if possible, as it's a clean straight shot. But it's not required. Vent through a side wall if you cannot vent directly above your hood.
To have a smooth installation ,find a great contractor to install your ductwork.

Each elbow adds air resistance to your ductwork, which makes it harder for air to make it to the outside and taxes your hood in the process.
A couple of elbows are OK; you might need them just to navigate through your walls. But don't use more than two to keep your hood running as efficiently as possible.
When Adding Elbows to Your Duct:
- For each elbow in your duct, reduce the total length of your duct run by 5' for an equivalent air pressure. For example, a 30' straight run is about equivalent to a 20' run with two elbows
- When installing your duct, include at least 18″ of straight run before adding an elbow (24" is even better)
- 18" or more is also needed between any two places in the airflow where the air needs to bend. If you can leave at least 24 inches, that's even better


When possible, orient your ductwork so that you use the shortest run possible with the fewest elbows. This way, the unwanted air encounters the least amount of resistance and vents out of your home with ease.
Ignoring aesthetics, the shortest and straightest run of ductwork is the best for the power, efficiency, and longevity of your vent hood.

A range hood should last you 10+ years, but flex duct simply won't hold up that long. Rigid duct is much more durable. It's your best option.
Rigid ductwork will also encounter less air resistance than flex duct systems, so all the cooking exhaust will move smoothly away from you and your guests.

Make sure that you use the appropriate sized duct to keep your duct system efficient. Duct size depends on the CFM of your range hood.

Once you've installed the appropriate duct, seal it to your hood using aluminum tape.
A cap keeps dirt and debris out of your duct. It also prevents back-drafting, dirt, debris, and wildlife from getting into your rangehood or ductwork.
Then, use caulking to seal any exterior openings around the cap.
This keeps the cap secure and prevents excess noise and the elements from getting into your kitchen setup.
How Far Can You Vent an Outdoor Range Hood?
Maximum Recommended Duct Lengths
The maximum recommended duct length for venting a vent hood depends on the number of elbow turns in the ductwork:
- Straight run with no turns: 30 feet maximum
- One 90-degree elbow turn: 25 feet maximum
- Two 90-degree elbow turns: 20 feet maximum
The reason for these limits is that longer duct runs with multiple turns reduce the airflow, causing inadequate venting.
Portions of the very air you are trying to expel from your cooking space and guests may fail to expel fully to the outside and instead backdraft or recirculate into the kitchen.
Keeping the duct as short and straight as possible ensures proper venting and removal of cooking fumes and odors.
Related Articles
Continue your outdoor kitchen journey with these helpful resources:
10 Pros and Cons of Outdoor Kitchens
Outdoor Range Hood Buyer’s Guide (7 Things to Consider)
Outdoor Kitchen Range Hood Ideas To Inspire You!
Three Ways To Treat Wood for Outdoor Use
