


How To Replace The Lights On Your Range Hood (Remove and Replace)

Table of Contents
Are your range hood lights flickering, dim, or completely out? Replacing them is easier than you think — and it can make a huge difference in both kitchen safety and comfort.
This DIY guide will show you exactly how to replace range hood bulbs, whether you’re dealing with GU10 twist-lock lights, diode panels, or internal light drivers. No need to call a technician — with a few basic tools and a little know-how, you’ll restore bright, energy-efficient lighting to your kitchen in minutes.
You can get all this info by watching the video below or reading on:
Why Bright Hood Lights Matter
Good task lighting is critical for safe, enjoyable cooking. If your hood lights are flickering or dim, they’re not just annoying — they could create unsafe prep conditions or contribute to uneven cooking.
Luckily, range hood light replacement is one of the easiest kitchen upgrades you can do yourself.
Before You Begin: Safety First
Always start by disconnecting power to your range hood at the breaker. Then, gather your tools:
- Phillips screwdriver
- Voltage tester
- New bulbs or light assembly (check your model)
- Optional: painter’s tape for GU10 bulb removal
Identify what type of light system your hood uses:
- GU10 bulbs: Twist-lock style, easy to replace
- Diode light panels: Clipped in with connectors
- Internal drivers: Require some disassembly
How to Replace Multi-Diode Range Hood Lights
Here’s how to swap out diode light assemblies found in some Proline models:
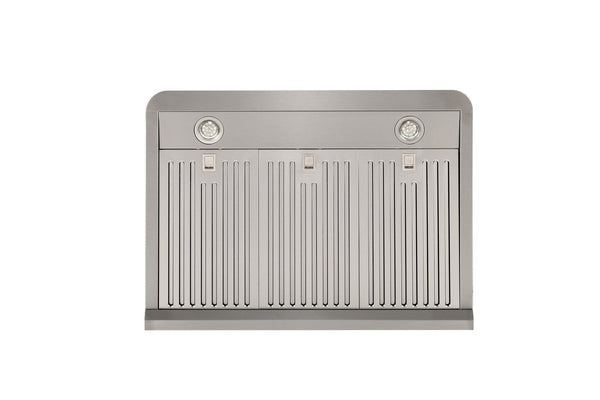
- Remove the range hood filters to expose the light assembly
- Locate and squeeze the two spring-loaded prongs behind the light
- Disconnect the white plastic electrical connector by pressing its side tabs
- Remove the light housing by pressing tabs on the white clips
- Install the new diode assembly and reverse the steps
Why Choose GU10 Range Hood Bulbs?
GU10 bulbs are one of the most common and homeowner-friendly lighting options in range hoods. Here’s why:
- Longevity with an extended lifespan
- Sturdy connection that resists moisture intrusion
- Ease of installation that provides reassurance.
How to Replace GU10 Range Hood Bulbs
You won’t need to remove the filter for this one. Here’s the simple process:
- Apply tape to the bulb to give yourself grip
- Pinch the tape and twist counterclockwise to loosen the bulb
- Remove the old GU10 bulb and insert the new one
- Twist clockwise until the bulb locks securely in place
Pro tip: Never force the bulb — it should lock in with a gentle twist.
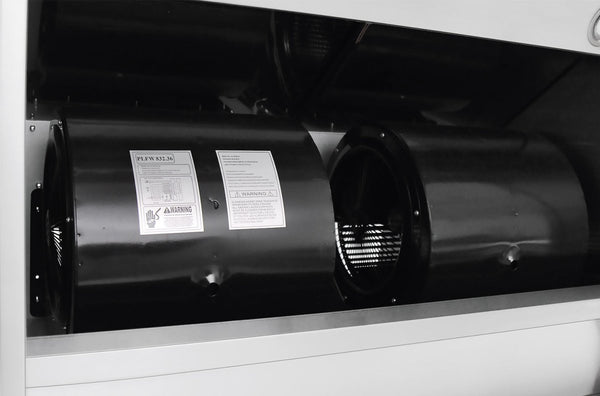
Replacing the Internal Light Driver
If your hood has an internal light driver, here’s how to access and replace it:
- Turn off power and remove the protective metal plate using a screwdriver
- Locate the small black driver box secured by screws
- Carefully open it and disconnect wiring (note the connection layout)
- Replace with a matching part and reconnect all wires properly
- Close and secure the plate before turning power back on
When in doubt, call Proline support at 877-901-5530 for model-specific guidance.
Final Thoughts: Restore Brightness in 30 Minutes
Don’t let poor lighting dim your cooking experience. Replacing your range hood lights is one of the fastest, easiest DIY upgrades you can make. Whether you’re tackling GU10 bulbs, diode lights, or internal drivers, you’ve got this — and if you need help, we’re a phone call away.

Other Helpful Articles
- Range Hood Troubleshooting: Solving Common Problems
- DIY Range Hood Installation: A Complete Guide for Every Hood Type
- Range Hood Maintenance Guide: Essential Tips for Longevity
- Replace Your Over-the-Range Microwave with a Range Hood the Right Way