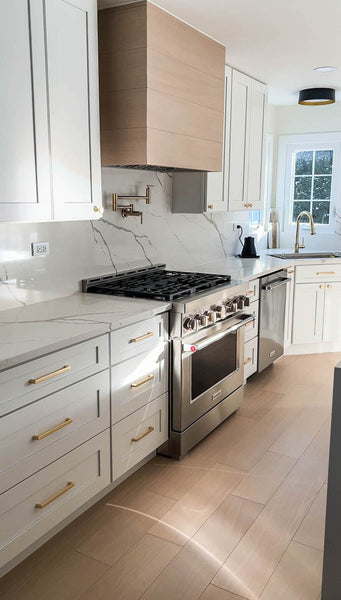
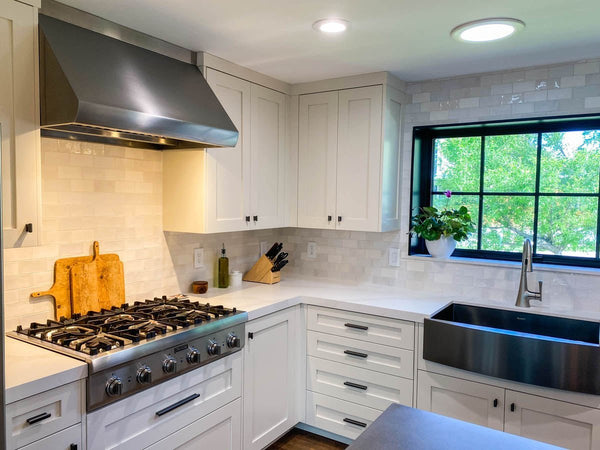
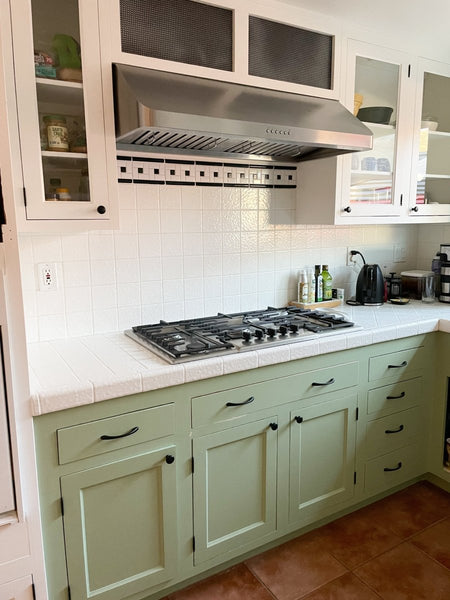
Every kitchen has a backsplash nowadays. If you're looking to renovate, installing a kitchen backsplash is a no-brainer. It’s modern, attractive, and keeps grease and cooking smoke off your wall.
Installing a backsplash might seem daunting - especially if you haven’t done it before. But with a little research, you can DIY it no problem.
If you're still deciding whether a backsplash is right for you, check out our post 'Is a backsplash necessary in a kitchen?'
We’ll walk you through how to install a kitchen backsplash, from start to finish. Check out the video below to see the step-by-step process in action.
What You Need
The following links go to Amazon products.
- Outlet spacers
- Wet tile saw
- Tile trowel
- Grout float or mallet
- Thinset mortar
- Tile grout
- Duct tape
- Kitchen degreaser
- Screwdriver
- Drill
- Sponge
- Safety glasses
- Caulk gun
- A couple of rags
1. Determine where you’ll have to cut tiles on your wall.
You may need to cut tiles around outlets, light switch covers, or tile around a window.
2. Remove outlet and light switch covers.
It’s illegal to tile over outlets; closing off electrical outlets in your wall can be a fire hazard. Also, you won’t pass any home inspections. Chances are high you’ll have to fix the outlet before putting your home on the market. So keep that in mind if you’re getting your house ready to sell.
Tiling around outlets is a little tricky. Typically you use spacers so the outlet “pops” out and can sit above the tile. Here are some outlet spacers from Amazon that can help you get the job done.
Here’s a quick video on how to tile around outlets.
3. Turn off power to your kitchen outlets and switches.
While tiling you don’t want any risk of electrical shock. Turn off the power as a safety precaution.
4. Apply duct tape around the edge of the backsplash and over switches and outlets.
This way, when you apply your mortar in the next step, it doesn’t get everywhere. The tape helps protect your outlets and light switches from damage too.
5. Clean your wall thoroughly.
Before you apply mortar and install a backsplash, scrub the wall clean of any grease or stains. Any non-abrasive household cleaner will work great for this.
6. Apply thinset mortar to the backsplash wall using a tile trowel.
This premixed thinset from Amazon works great. Spread it on the wall evenly with a tile trowel (here’s one from Amazon).
We wrote a complete guide on how to tile a bathroom floor in this article. The process is similar for wall tiles. Check out that article here.
7. Secure tiles to the wall using a mallet or grout float.
Some backsplash tiles come in sections with spacers included. In this case, start in the center of the room and apply sections of tile outward, cutting where necessary.
If your backsplash uses larger individual tiles, apply them to the wall individually, add the spacers, then adjust the tiles in place. Only work on a few tiles at a time and make sure they are completely aligned and level before moving on to a new section. You don’t want tiles to dry when they are not level or aligned properly.
Once you’ve aligned your tiles, secure them in place with a grout float or mallet. Here’s a good grout float from Amazon. Or if you prefer a mallet check this one out.
8. Once you have laid out all your backsplash tiles, wipe off any excess mortar.
You can use a rag or a damp sponge.
9. Let the tiles set for at least 24 hours.
10. Remove the spacers from your tiles.
It’s important to not remove the spacers too early. If the mortar is not completely dry, the tiles may move around.

11. Apply grout.
You can find many different types of tile grout on Amazon. Here is one of my favorites. You can also mix your own grout but it’s easier to buy the premixed stuff.
To apply grout, you’ll need a grout float like this one from Amazon. Here’s how to use it.
12. Wipe off the excess grout with a damp sponge.
13. Let the grout dry and repeat step 11.
Your tiles will have a thin white film on them after completely drying. Wipe this off thoroughly. Move your sponge in all directions to remove the layer of dust efficiently.
14. Apply caulk along the bottom and top of your backsplash.
Apply the caulk where the countertop meets the wall and where the cabinets meet the wall. This reduces the risk of grout cracking.
15. Remove duct tape from the outlets and switches.
16. Install outlet covers.
Use outlet spacers to extend your outlet past the tile. You’ll typically need about a quarter-inch of spacers for most tile projects. Thin tiles won’t need as many spacers and thick tiles will require more spacers.
Once your spacers are in place, screw on the outlet cover.
Now you’re done! Congrats! Before you go, keep reading for a few more helpful tips on installing your backsplash.
Where to Start Kitchen Backsplash
Start tiling your kitchen backsplash in the center of the wall. Starting in the center helps you ensure that your tiles are symmetrical. If you have to cut tiles, don’t install them all in one area. That may look unprofessional.
To find the center point, use a tape measure. First, measure the full length of the wall behind your stove. Cut that length in half and you have your center point.
When installing a backsplash, line up the grout lines in your backsplash tiles and countertop. It will make the cooking area look finished and professional. If your counter does not have grout lines, you don’t need to worry about this.
How to Tile a Backsplash Corner
Tiling a backsplash corner often involves cutting tiles into smaller pieces. It won’t always happen that your tiles will line up perfectly to the corner and require no cutting. A wet tile saw works great to cut all types of backsplash tiles. Here’s a great one from Amazon.
As you approach the corner, measure each empty area where a piece of a tile will go on your wall. Then take that measurement and line it up against your tile. Make a mark where you need to make your cut and then cut the tile.
For example, let’s say you measured three inches to the corner where you need a tile. Your tiles are five inches long. So you will want to cut two inches off one of your tiles to tile the backsplash corner properly.
That’s all for our article on installing your kitchen backsplash. We hope that your installation goes smoothly. Be sure to check out the video at the beginning of the article if you get stuck on any step. Good luck!
