


DIY Range Hood Installation: A Complete Guide for Every Hood Type
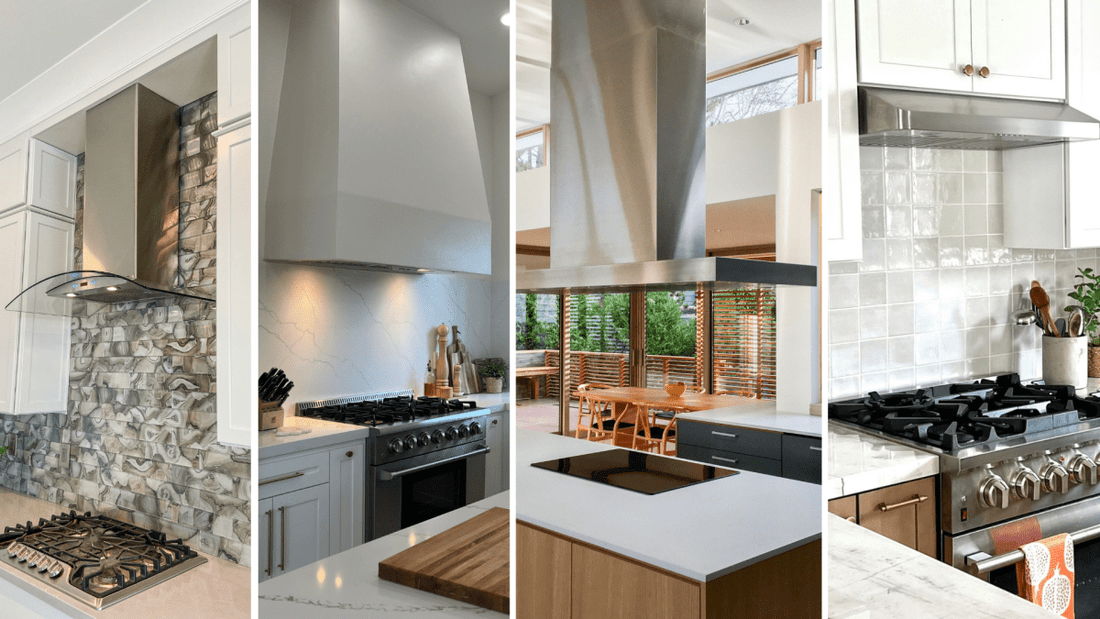
Table of Contents
Installing a range hood yourself can save you money while improving your kitchen's ventilation. Here's how to do it right the first time.

What You'll Need
- New range hood
- Measuring tape
- Drill and drill bits
- Screwdriver
- Level
- HVAC tape (for ducted hoods)
- Wire nuts and electrical tape
- Helper (recommended)

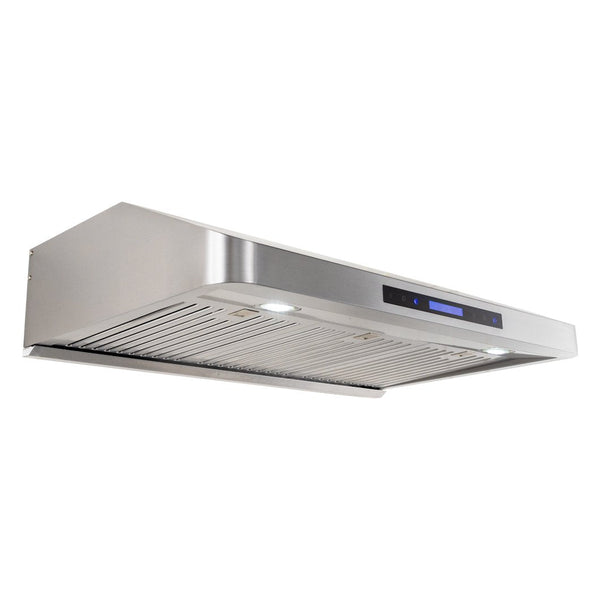
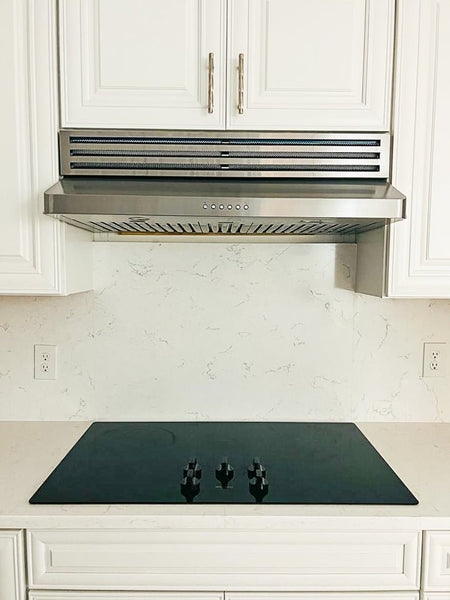
Under-Cabinet Range Hood Installation
- Safety First: Before starting, turn off power at the circuit breaker to prevent electrical hazards.
- Measure and Prepare: Measure the space under your cabinet to ensure proper fit. Mark the centerline and mounting points on the underside of the cabinet.
- Cut Openings: Trace and cut holes in the cabinet for ducting (for vented models) and electrical wiring. The position of the electrical cable may vary by model.
- Electrical Preparation: Thread the electrical wiring through the cabinet, following the hood's manual. If unsure, consult a licensed electrician.
- Mounting: Secure the hood to the bottom of the cabinet using the provided screws, ensuring alignment with the marked points.
Here are a few select models that come with the EZ mounting bracket:
Under Cabinet: PLJW 101, PLJW 102, PLJW 105, PLJW 108, PLJW 120
- Connect Ducting: Attach the duct to the hood's exhaust port using appropriate ducting materials. Seal all joints with aluminum tape to prevent air leaks. (Skip this step for ductless models.)
- Plug In: Plug the hood into a 120V (aka 110V) outlet.
- Secure and Test: Tighten all screws to ensure the hood is securely fastened. Turn on the power and test the hood's operation, including lights and fan speeds.

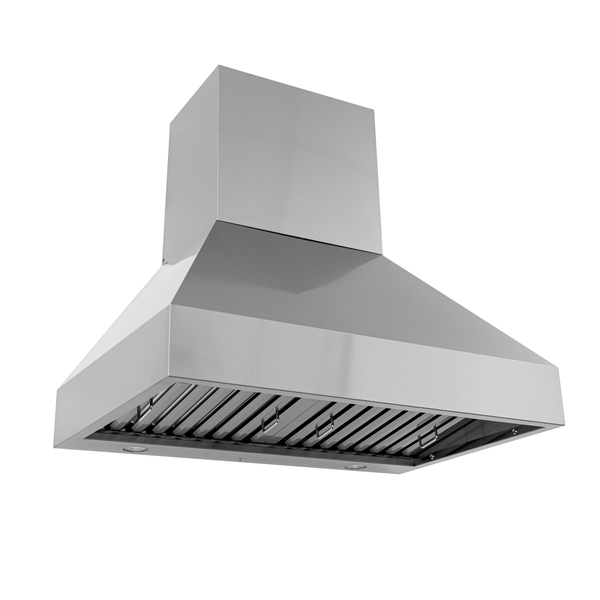
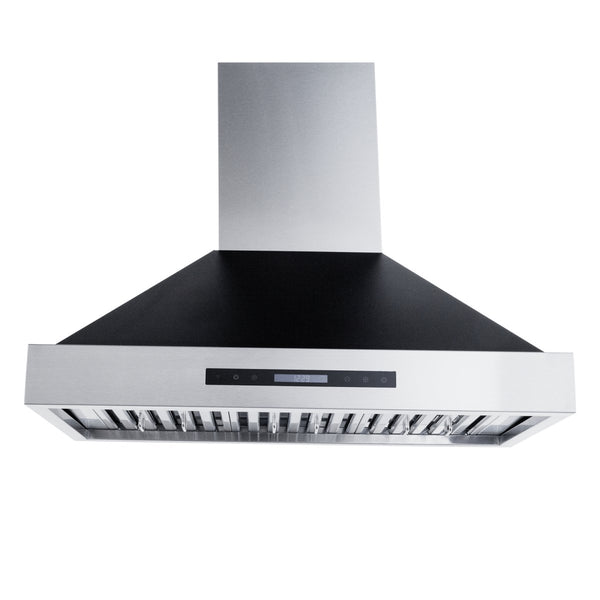
Wall-Mounted Range Hood Installation
- Locate Studs: Use a stud finder to locate and mark wall studs where the hood will be mounted.
- Prepare the Wall: Mark the centerline and desired height (30"–36" above the cooktop) on the wall.
- Mounting Bracket: If your wall-mounted hood comes with a Proline EZ mounting bracket, attach it to the wall, ensuring its level. Some models have the bracket pre-attached to the hood.
- Drill and Anchor: Drill holes at the marked points and insert wall anchors attaching directly to studs.
NOTE: You must ensure that your anchors are secured to wall studs, failure to do so can lead to a range hood falling from your wall. Which is always bad and can lead to damage to your hood and range.
- Hang the Hood: Lift and hang the main hood unit onto the bracket. Secure it with the provided hardware.
- Electrical Connection: Connect the hood to the electrical supply, following the manual's instructions. Ensure all connections comply with local codes.
- Install Ducting: Connect and secure the ductwork to the hood's exhaust outlet. Use aluminum tape to seal all joints.
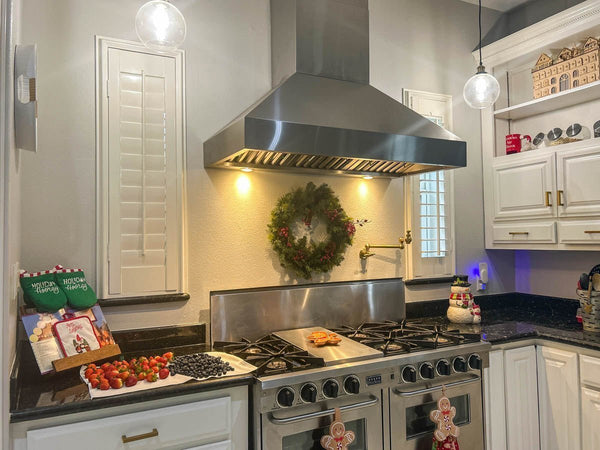
- Attach Chimney: Install the decorative chimney pieces, adjusting them to fit the ceiling height. Secure them to the wall and ceiling brackets as per the manual.
- Test Operation: Restore power and test the hood's functions, including lighting and fan operation.
Learn how to install using our EZ mounting bracket:

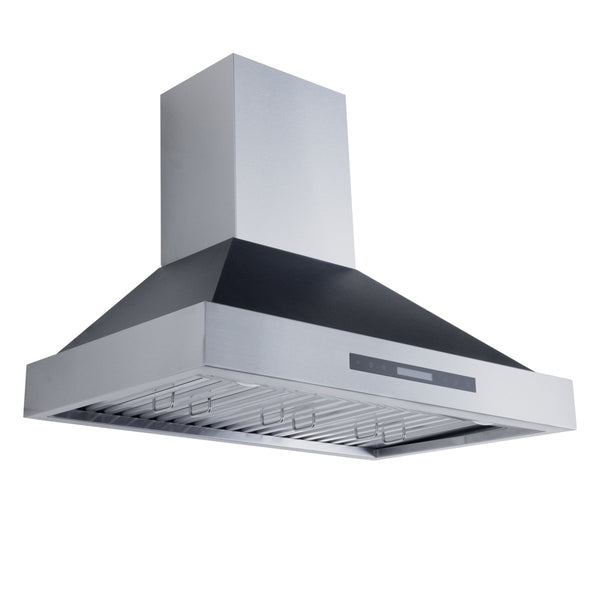
Island Range Hood Installation
- Ceiling Preparation: Locate ceiling joists and mark the center point above the cooktop. Ensure the ceiling can support the weight of the hood.
NOTE: Position your hood over your cooking surface can be accomplished several different ways, depending on what tools you have at your disposal. Fore Level, laser level, plum line, measuring off walls, etc.
- Install Ceiling Bracket: Secure the ceiling mounting bracket to the joists at the marked center point.
- Prepare Support Frame: Assemble the support structure to the proper height, ensuring the bottom of the hood will be 30"–36" above the cooktop.
- Mount Support Frame: Attach the support frame to the ceiling bracket securely.
- Prep Ducting and Electrical: Route ductwork and electrical wiring through the ceiling and down through the support frame.
- Mount the Hood: Attach the hood to the support frame, ensuring all connections are secure.
- Connect Systems: Complete the electrical and duct connections, sealing all duct joints with aluminum tape.
- Install Chimney Covers: Slide the inner and outer chimney sleeves over the support frame, adjusting them to cover the ductwork and wiring. Secure them as per the manual.
- Install Filters and Test: Insert the appropriate filters and restore power. Test all functions to ensure proper operation.

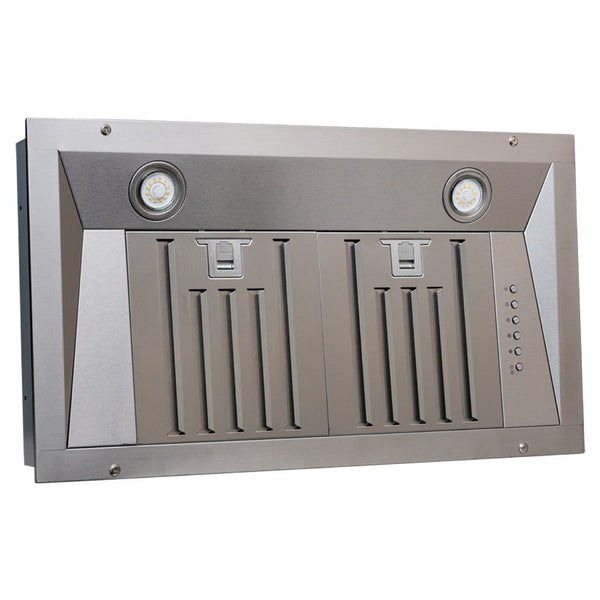
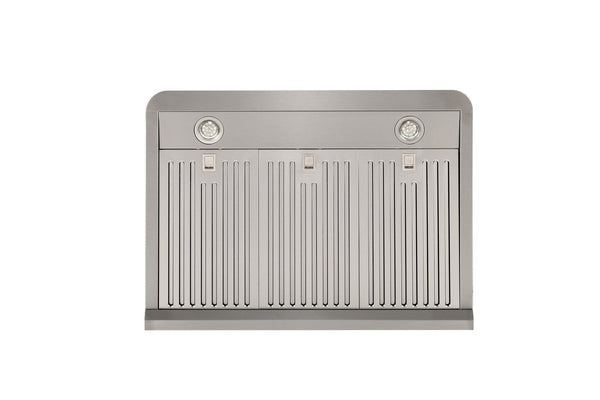
Custom Insert Range Hood Installation
- Custom Cabinet Preparation: Ensure your custom cabinet has the proper dimensions to accommodate the insert hood.
- Create Mounting Surface: Install a secure mounting surface inside the cabinet to support the hood.
- Cut Openings: Create openings for ducting and electrical wiring, following the hood's specifications.
- Position Insert: Carefully position the insert into the cabinet, ensuring it aligns with the cutouts.
- Secure Insert: Fasten the insert using the provided brackets and screws, ensuring it's securely mounted.
- Connect Ducting: Attach and seal the ductwork connections using aluminum tape to prevent air leaks.
- Wire the Unit: Make electrical connections following the manual, ensuring compliance with local codes.
- Install Filters: Add the appropriate filters and any decorative elements as desired.
- Test Operation: Restore power and verify all functions work properly, including lighting and fan speeds.
Need some inspiration? Check out these range hood cover ideas:
Pro Tips
- Choose the right hood size: at least as wide as your cooking surface or 6” larger
- For gas ranges and electric ranges, install 30-36 inches above the cooking surface
- Always check local building codes before installation
With these simple steps, you'll have a professionally installed range hood that keeps your kitchen fresh and clean.
