
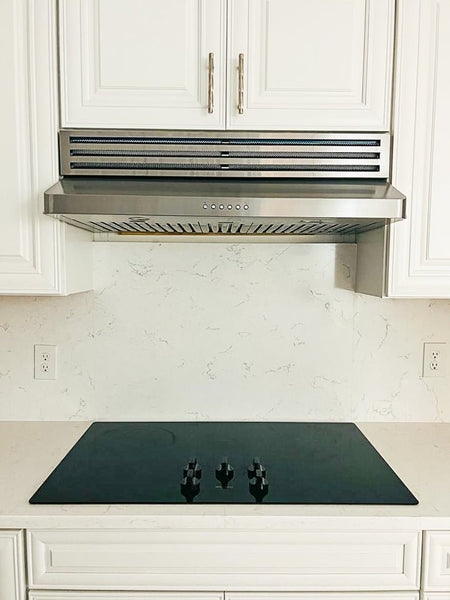
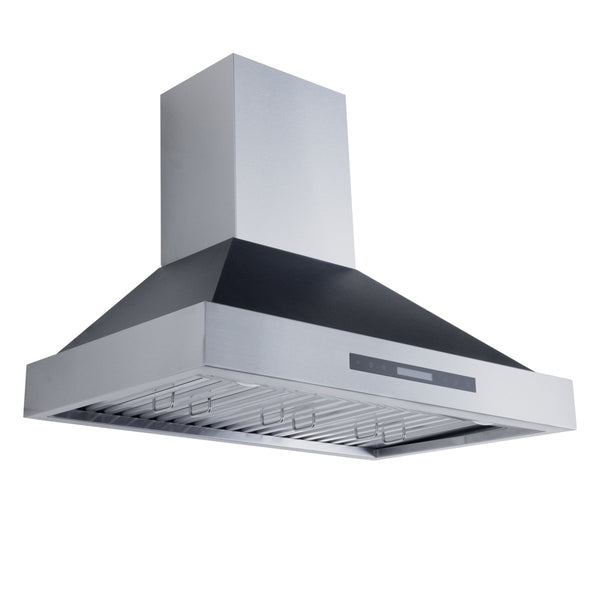

How do I install a PLFW 544 wall range hood?

Table of Contents
Introduction
You can install our PLFW 544 range hood in your home in just a few hours. Check out this short video tutorial to help you install your wall range hood.
Need more info before installing: Don’t Install Your Range Hood Until You Read This Ultimate Guide!
What You Need
- Power drill
- Screwdriver
- Drill bit
- Drill
- Tape measure
- Marking pencils
- Level
- Aluminum duct tape
What’s in the Box
- Chimney
- Ceiling Bracket
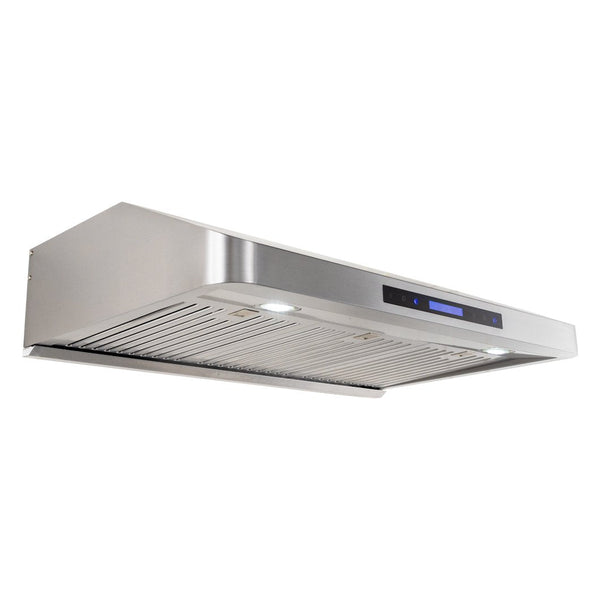
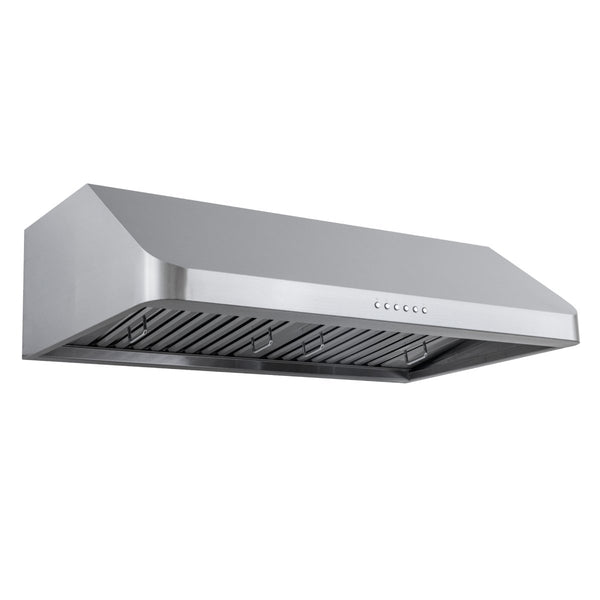
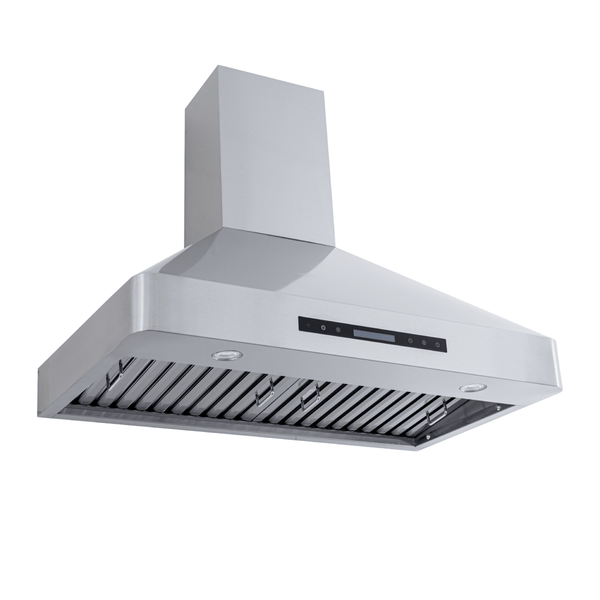
- Range Hood
- Flex Duct
Note: This hood may come with a flexible duct, but we recommend that you install a rigid duct. It’s much more durable and allows for more efficient airflow to the outside of your home.
For more information on range hood duct best practices, check out this article.
Also, we mention Halogen lights in the video, but the 544 wall range hood now comes with LED lights.
Installation Steps
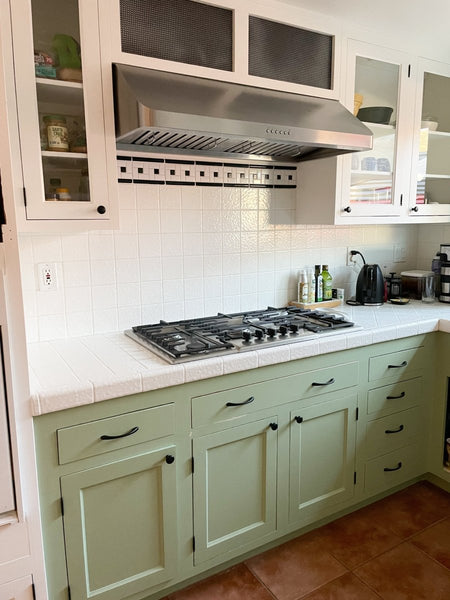
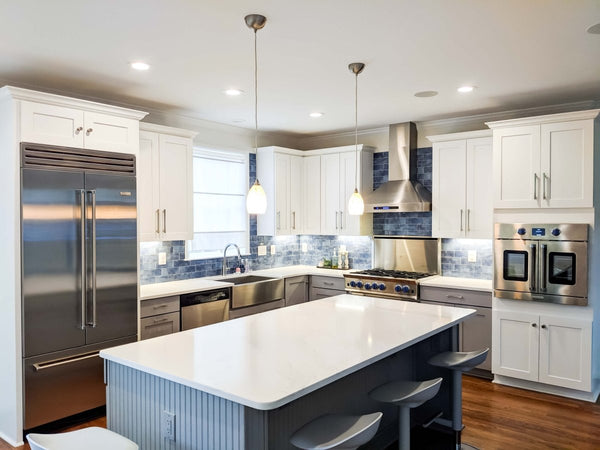
- Mark the center of where your range hood will be on the wall. Mount your hood between 28 and 36 inches from the cooktop.
- Mark the location of a stud, so you can anchor your hood to it later.
- Use a piece of cardboard to make a template:
- Trace the back of your range hood.
- Trace the mounting points.
- Mark the center point of your hood on the cardboard.
- Poke holes through the cardboard at your mounting points.
- Line up the center of your cardboard with the center point you marked on the wall.
- Poke through the cardboard to mark your mounting points using a screwdriver or marking pencil.
- Drill a hole for the wall anchors.
- Install wall anchors and drill screws into the anchors. Leave a quarter-inch of space where your hood will hang.
- Install the ceiling bracket. Mark the center point and align it with the center of the wall at the ceiling. Secure with screws.
- Hang the range hood. Note: The PLFW 544 weighs up to 50 pounds, so you may want a friend to assist.
- Tighten the mounting screws to secure the hood in place.
- Locate your stud and drill a grabber screw through the mounting bracket into the stud. Important: This step cannot be skipped as it supports the full weight of the hood.
- Feed your duct through the wall and seal it to the range hood using aluminum tape. Check out our guide on sealing a range hood vent.
- Plug your hood into the nearest outlet. Use an extension cord if necessary.
- Remove the protective coating from chimney sleeves.
- Install the chimney by drilling two screws into the ceiling bracket on each side.
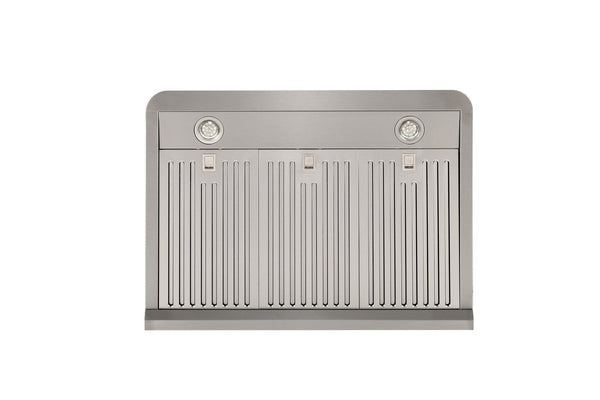
- Install mesh filters. Peel off any protective coating before securing them in place with the latch.
Now your installation is done! Great work! Let us know if you have any questions.
Support
We are happy to help with any questions or concerns. Please:
- Create a support ticket
- Email us at support@prolinerangehoods.com
- Call our support line at (877) 901-5530 to talk to a live representative.